Real-Time Image Classification with a Vision Transformer
Vision Transformer + OpenCV + Hugging Face
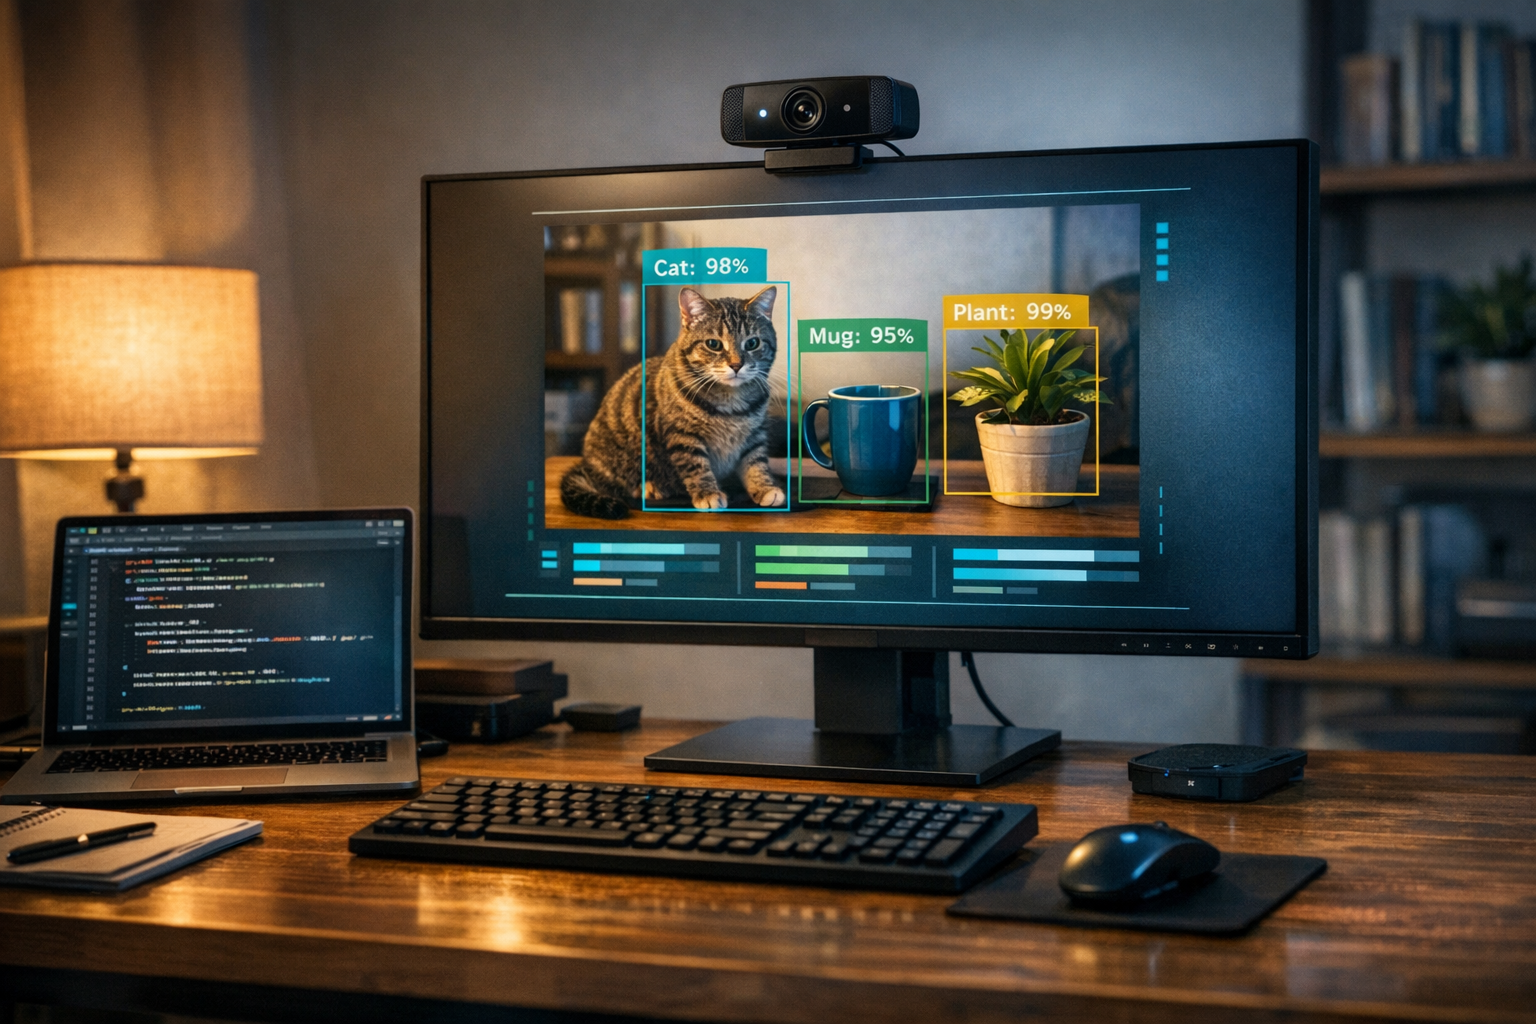
A local computer vision app running on your webcam with predictions showing up instantly
If you want to move beyond static examples and build something that feels like a real AI application, this is a great place to start. In a short session you capture webcam frames, run a pretrained model, and render live predictions on top of the video feed.
If you want an AI project that feels more like a product than a toy demo, this one is a strong entry point.
Instead of sending images to a paid API and waiting for a remote response, everything runs locally:
the webcam captures the frame, OpenCV prepares the image, the Vision Transformer performs
inference, and your app overlays the top-3 predictions on screen in real time.
The result is simple, visual, and excellent for a portfolio. Better still, it helps you understand how an image classification model fits into a real application.
Why this project is worth building
Section titled “Why this project is worth building”- it runs
100% locally, with no per-request cost - it introduces modern
computer visionwithout training a model from scratch - it combines
Python,OpenCV,Hugging Face, and real-time inference - it produces a project that looks great in a portfolio, GitHub repo, or short demo video
What you will learn
Section titled “What you will learn”- how to capture video with
OpenCV - how to load a pretrained
Vision Transformerwithtransformers - how to convert images between
BGR,RGB, andPIL - how to interpret probabilities and display the
top-3 classes - how to build a simple app that feels more advanced than the code size suggests
Prerequisites
Section titled “Prerequisites”Python 3.10+- a working webcam
- a virtual environment
- basic familiarity with the terminal and
pip
1. Create the project folder
Section titled “1. Create the project folder”mkdir vision-transformer-webcamcd vision-transformer-webcam2. Create and activate the virtual environment
Section titled “2. Create and activate the virtual environment”python -m venv venv
# Windowsvenv\Scripts\activate
# Linux / macOSsource venv/bin/activateIf everything worked, you should see the environment name at the start of your terminal prompt.
3. Install the dependencies
Section titled “3. Install the dependencies”pip install torch torchvision transformers opencv-python pillowThese packages cover the essentials:
torch: the runtime engine for the modeltransformers: loads the Vision Transformeropencv-python: handles webcam capture and the display windowpillow: converts images into the format expected by the model processor
4. Create a quick environment test
Section titled “4. Create a quick environment test”Before opening the webcam and loading the model, it is worth checking that the basics are ready.
Create test_setup.py:
import cv2import torchfrom transformers import AutoImageProcessor, AutoModelForImageClassification
MODEL_NAME = "google/vit-base-patch16-224"
print("Python and dependencies loaded")print(f"OpenCV: {cv2.__version__}")print(f"Torch: {torch.__version__}")
processor = AutoImageProcessor.from_pretrained(MODEL_NAME)model = AutoModelForImageClassification.from_pretrained(MODEL_NAME)
print("Model loaded successfully")print(f"Number of classes: {model.config.num_labels}")print("Everything is ready")
Run:
python test_setup.pyThe first run can take a little longer because transformers downloads the model files into the
local cache.
5. Create the main app
Section titled “5. Create the main app”Now for the core of the project.
Create app.py:
import cv2import torchfrom PIL import Imagefrom transformers import AutoImageProcessor, AutoModelForImageClassification
MODEL_NAME = "google/vit-base-patch16-224"DEVICE = "cuda" if torch.cuda.is_available() else "cpu"
processor = AutoImageProcessor.from_pretrained(MODEL_NAME)model = AutoModelForImageClassification.from_pretrained(MODEL_NAME).to(DEVICE)model.eval()
camera = cv2.VideoCapture(0)
if not camera.isOpened():    raise RuntimeError("Could not access the webcam.")
frame_index = 0cached_predictions = []

def classify_frame(frame_bgr):    frame_rgb = cv2.cvtColor(frame_bgr, cv2.COLOR_BGR2RGB)    image = Image.fromarray(frame_rgb)
    inputs = processor(images=image, return_tensors="pt")    inputs = {key: value.to(DEVICE) for key, value in inputs.items()}
    with torch.no_grad():        outputs = model(**inputs)        probabilities = outputs.logits.softmax(dim=-1)[0]
    top_values, top_indices = torch.topk(probabilities, k=3)
    predictions = []    for score, class_index in zip(top_values, top_indices):        label = model.config.id2label[class_index.item()]        predictions.append((label, score.item() * 100))
    return predictions

while True:    ok, frame = camera.read()    if not ok:        break
    frame_index += 1
    # Running inference every 8 frames helps a lot on CPU.    if frame_index % 8 == 0:        cached_predictions = classify_frame(frame)
    y = 30    for label, confidence in cached_predictions:        text = f"{label}: {confidence:.2f}%"        cv2.putText(            frame,            text,            (20, y),            cv2.FONT_HERSHEY_SIMPLEX,            0.7,            (0, 255, 0),            2,            cv2.LINE_AA,        )        y += 30
    cv2.putText(        frame,        "Press q to quit",        (20, frame.shape[0] - 20),        cv2.FONT_HERSHEY_SIMPLEX,        0.6,        (255, 255, 255),        2,        cv2.LINE_AA,    )
    cv2.imshow("Vision Transformer with Webcam", frame)
    if cv2.waitKey(1) & 0xFF == ord("q"):        break
camera.release()cv2.destroyAllWindows()
6. Run the project
Section titled “6. Run the project”python app.pyIf everything is correct, a window will open with your webcam feed and the predictions rendered on top of it.
Try a few simple objects first:
- bottle
- keyboard
- mouse
- mug
- phone
The more the object resembles common ImageNet examples, the higher the chances of a reasonable
classification.
7. Understand the full pipeline
Section titled “7. Understand the full pipeline”The project pipeline looks like this:
Webcam -> OpenCV (BGR) -> RGB -> PIL-> AutoImageProcessor -> Vision Transformer-> Softmax -> Top-3 predictions -> Render text on screenIn practice:
OpenCVcaptures a webcam frame- the frame arrives in
BGR, which is not the format expected by the model - the image is converted to
RGB PILturns the frame into an object that works smoothly with Hugging Face tooling- the
processorresizes, normalizes, and prepares the tensors - the
Vision Transformerproduces logits for the classes softmaxconverts those logits into probabilities- you grab the
3most likely classes and draw them on screen
What is happening under the hood
Section titled “What is happening under the hood”The Vision Transformer, or ViT, treats an image in a way that is conceptually similar to how
transformers process text: it breaks the input into smaller patches, learns relationships between
them, and builds a global representation of the scene.
In practice, that means you are not using a classic CNN trained from scratch. You are taking a model that was already trained on a large image dataset and applying that knowledge directly to your webcam stream.
That is part of what makes this such a good project. It exposes three layers at once:
- the
inputlayer, with video capture and preprocessing - the
modellayer, with inference and output interpretation - the
productlayer, with latency, presentation, and usability
Small changes that improve the result
Section titled “Small changes that improve the result”Run inference every few frames
Section titled “Run inference every few frames”If you classify every frame on CPU, the app will slow down quickly. Processing every 6, 8, or
10 frames already makes a big difference.
Use decent lighting
Section titled “Use decent lighting”Classification models struggle when the image is too dark, overexposed, or blurry.
Keep the object centered
Section titled “Keep the object centered”This ViT example performs full-image classification, not object detection. If the scene is too
busy, the model can get confused.
Try other checkpoints
Section titled “Try other checkpoints”Once the basic flow is working, test other image-classification checkpoints on Hugging Face and compare latency against accuracy.
Troubleshooting
Section titled “Troubleshooting”The webcam does not open
Section titled “The webcam does not open”Check whether:
- another app is already using the camera
- camera permissions were granted by the OS
- index
0is the right webcam on your machine
If needed, change:
camera = cv2.VideoCapture(0)to:
camera = cv2.VideoCapture(1)The model is too slow
Section titled “The model is too slow”This usually happens on machines without a GPU or with a modest CPU. Useful fixes include:
- increasing the interval between inferences
- reducing the camera resolution
- closing heavier apps running at the same time
The classes look strange
Section titled “The classes look strange”That is partly normal. The model was trained on ImageNet, so it tries to map what it sees to
that label set. The predicted label will not always match the exact name you would use as a human.
Error while downloading the model
Section titled “Error while downloading the model”On the first run, you need internet access to fetch the checkpoint weights. After that, the local cache usually handles future runs without downloading everything again.
Natural next upgrades
Section titled “Natural next upgrades”If you want to evolve the project, the most interesting path is:
- replace simple classification with
object detection - add
bounding boxes - show FPS, prediction history, and small stats
- test a
YOLOv8version for multiple objects in the same scene
That changes the product experience a lot: the question stops being “what does the whole image look like?” and becomes “which objects are here, and where are they?”.
Wrapping up
Section titled “Wrapping up”This project is a great way to move from theory into a computer vision app that feels like a real product. In a few dozen lines you combine webcam input, preprocessing, inference, and a live visual interface into a demo that gets attention.
Best of all, it does that without external APIs, without usage fees, and with full control over what is running on your machine.
If you publish the project on GitHub with a short demo video, it becomes even stronger as a portfolio piece.